With an ever-expanding array of digital platforms, apps, and teaching technologies available, it is easy for educators to feel overwhelmed or uncertain about where to begin. While curiosity is essential, purposeful selection is equally important. This unit supports you in identifying digital tools that are not only interesting, but also aligned with your specific teaching objectives, classroom context, and student needs.
The aim is to reduce decision fatigue, avoid tool overload, and help you approach digital experimentation with clarity and intention.

Digital tools should not be adopted simply because they are new or widely used. Tools are most effective when they solve a specific challenge, enhance a particular aspect of your teaching, or respond to a real student need. Purposeful selection helps ensure that your time is invested in tools that are likely to deliver tangible benefits, rather than distractions or additional workload.
Common areas where digital tools can offer value include:
By identifying your teaching priorities first, you can narrow your focus and choose one or two tools to explore, rather than trying to master several at once.

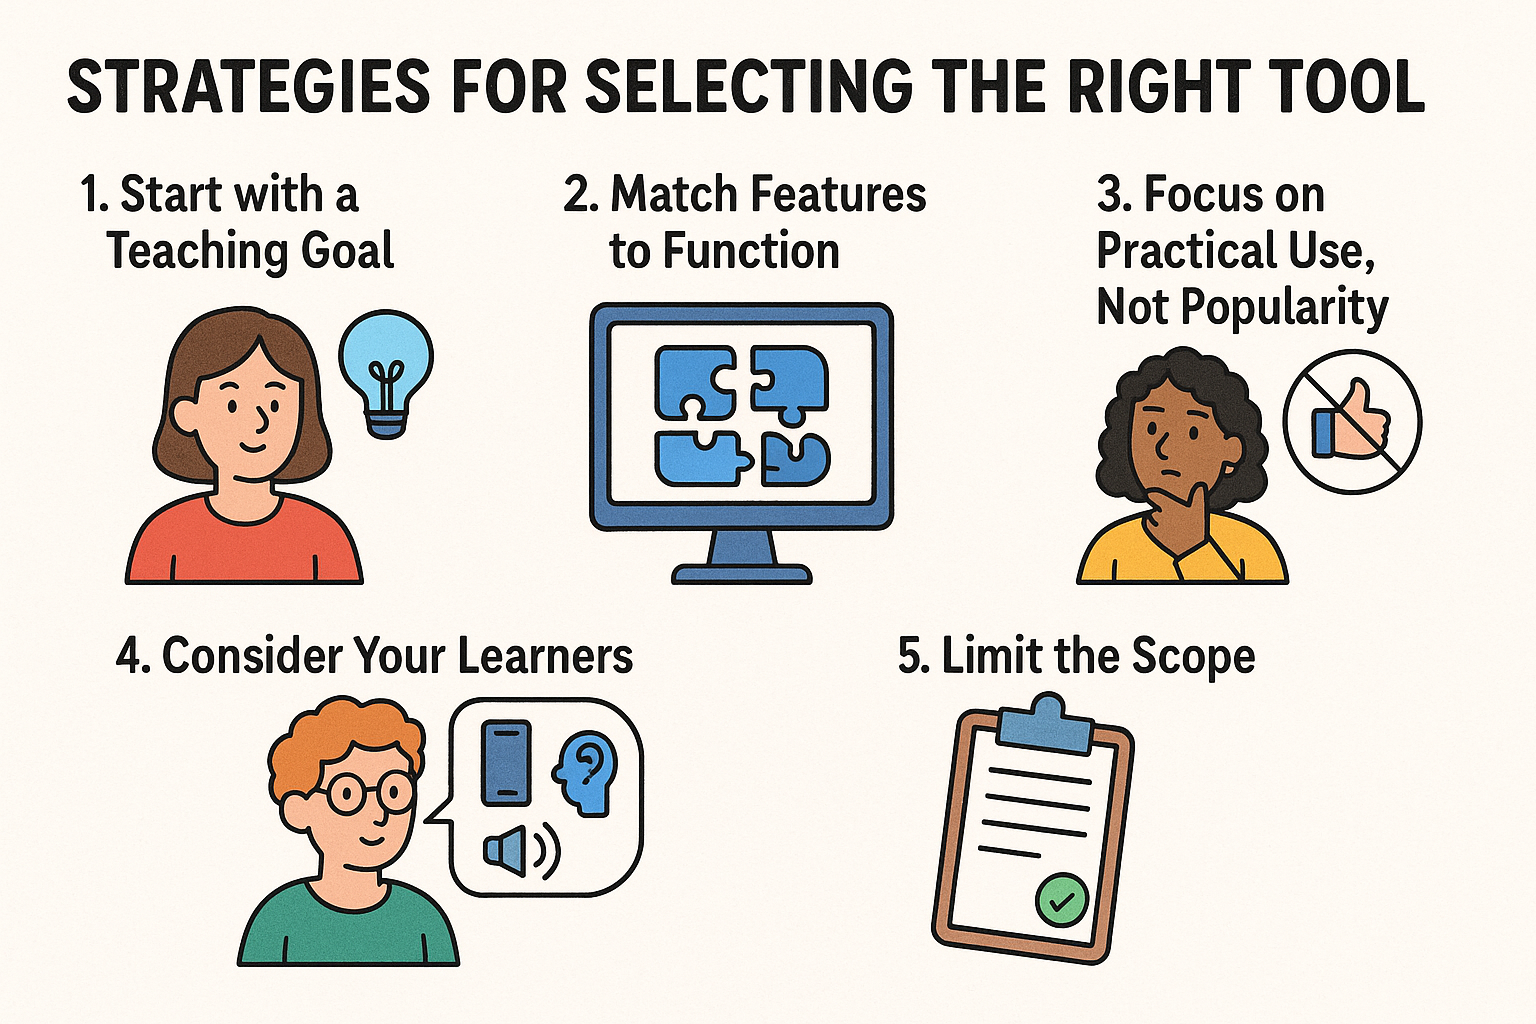
1. Start with a Teaching Goal
Identify an area of your practice you would like to strengthen. For example:
Once the goal is clear, you can evaluate tools based on whether they directly address it.
2. Match Features to Function
Consider the core function of a tool and whether it suits your goal.
3. Focus on Practical Use, Not Popularity
Do not feel pressured to use a tool because it is trending or widely discussed. Instead, focus on what you need to deliver and what your students need to engage or succeed.
4. Consider Your Learners
Think about your students’ digital access, confidence, and preferences. Will the tool be intuitive? Is it mobile-friendly? Can it support different types of learners (e.g. visual, auditory, neurodivergent)?
5. Limit the Scope
Set a clear boundary for your experimentation. For example, “I will try this tool in just one activity this month” or “I will test this tool with one group only.” This keeps exploration focused and reduces pressure.
Choosing a tool with purpose does not end with selection—it also involves setting yourself up to follow through. Once you have identified a tool that aligns with your teaching goal, you can apply a simple nudge to increase the likelihood that you will engage with it.
For example, after selecting a tool:
These nudges help reduce friction and prompt action, ensuring that your selected tool moves from intention to implementation. By combining purposeful decision-making with a small behavioural nudge, you are more likely to make meaningful progress in your digital practice.
Explore this video to discover the leading education technology tools that enhance teaching and learning. From interactive platforms to digital resources, see how they empower educators to design more engaging, accessible, and effective classroom experiences.
Now that you have explored how to select tools with purpose, take time to finalise your decision and prepare for a small-scale trial. In the next unit, we will focus on how to share and reflect on your digital experimentation in a way that supports both personal growth and professional dialogue. You will be invited to document your experience, draw insights from what worked, and consider how your experimentation contributes to a broader culture of digital engagement.
In this activity, you will use a simple evaluation grid to compare potential digital tools based on your current teaching needs. This will support a more objective and structured decision, while still allowing for personal context and preferences.
Step 1: Define Your Goal
Choose one teaching goal you would like to support with a digital tool. For example:
Step 2: Identify Three Tools
List up to three tools you are considering or have heard about. If needed, use the shortlist introduced in earlier units (e.g. Padlet, ChatGPT, H5P, Screencast-O-Matic, Canva).
Step 3: Compare Using the Grid
Create a simple table like the one below and score each tool from 1 to 5 on the following criteria (1 = low alignment, 5 = high alignment):
Tool
Aligns with my teaching goal
Easy to use (for me)
Accessible for students
Available with minimal setup
Total
Step 4: Decide
Based on your scores and overall impressions, select one tool to trial in a small-scale activity over the next week or month.
You can optionally keep this grid in your notebook, or upload a digital version to your learning journal or course platform. This method can be repeated each time you encounter new tools or when your teaching needs shift.