
Designing for accessibility from the beginning is the base of inclusive digital pedagogy. This unit focuses on how nudging strategies can support “accessibility by default” in your teaching materials, course platforms, and communication. You’ll learn how small, embedded prompts and practices can help you anticipate diverse learner needs, streamline inclusive design, and create digital environments where more students can thrive.
Whether you’re building a new course or updating existing materials, nudging can help make accessibility a natural part of your workflow rather than an afterthought.
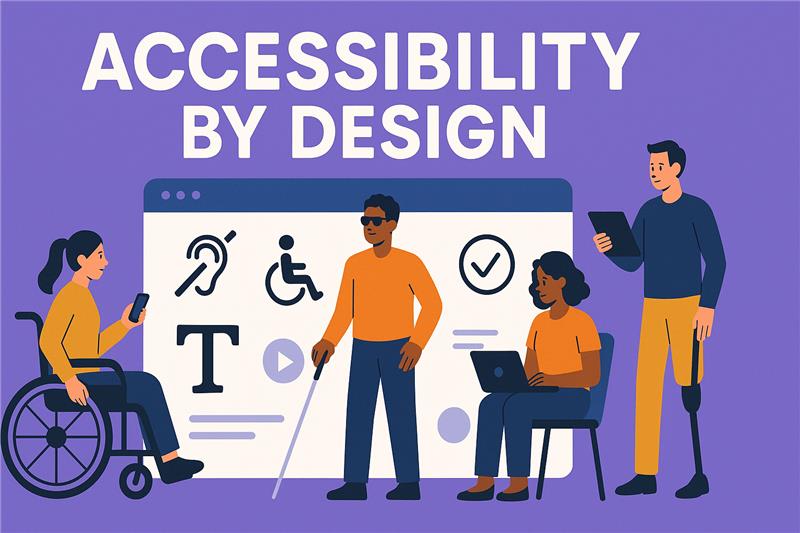
Accessibility by design means intentionally structuring digital content so that it is usable by the widest range of learners from the start. Rather than waiting for a student to request accommodations, you assume diversity and embed inclusive features from the beginning.
Examples include:
The goal is not perfection; it is to reduce common friction points and preventing exclusion where possible.
Designing this way benefits all students. For example, captions help deaf students but also those studying in a noisy environment or in a second language. A clean layout with consistent formatting supports both neurodivergent learners and anyone accessing materials on a mobile device.
Many Learning Management Systems (LMS) and digital tools already include features that can prompt or support accessible design. These are examples of automated accessibility nudges, built-in reminders that encourage inclusive choices.
Examples of digital nudges for accessibility:
As an educator, using or enabling these features can become a powerful nudge for yourself. You can even build habits around them, for example, reviewing the accessibility report as part of your course update routine.
One effective way to reduce effort and increase accessibility is by creating inclusive defaults, that means materials and templates that are accessible by design and require minimal editing.
Examples include:
By starting with these defaults, you avoid having to “fix” accessibility later. This approach also sets a visible norm: accessibility is not an extra, it’s the standard.
Tip: You can create your own inclusive template and pin it for frequent use, turning it into a personal self-nudge that makes the accessible choice the easiest one.

Another powerful way to embed accessibility into your teaching is by inviting real-time feedback from your students. Even a single open-ended question can act as a nudge, for both students and educators.
For example: “Was there anything that made it harder for you to access or engage with this session?”, “How could it be made more accessible?”.
This type of feedback prompt encourages students to reflect on their own access needs and gives you early insights into barriers you might not have anticipated.
You can place these prompts:
The act of regularly asking also nudges you to keep inclusion top of mind, reinforcing an iterative design mindset where accessibility is continuously improved.
If your current materials weren’t designed with accessibility in mind, don’t worry, change doesn’t have to be overwhelming. Use self-nudging techniques to build new habits step-by-step.
Some examples:
Remember: the goal is not to do everything at once. It’s to create a system that nudges you to make small, sustainable improvements over time.
Now that you’ve explored how nudges, both automated and self-directed, can support accessibility by design, it’s time to put these ideas into practice. The following activity invites you to redesign one course element using inclusive defaults or nudging strategies. This will help you begin building a workflow that centres inclusion as a default.
Objective:
To improve accessibility by applying inclusive design and nudging strategies to an existing teaching element.
Instructions:
(1) Choose one of the following elements from your current teaching practice:
(2 ) Apply at least two inclusive design principles, such as:
(3) Embed at least one nudge to support ongoing accessibility, such as:
(4 ) Briefly document your process:
You will revisit this redesign in Unit 4, where we explore how to share inclusive practices and embed them across your institution.